
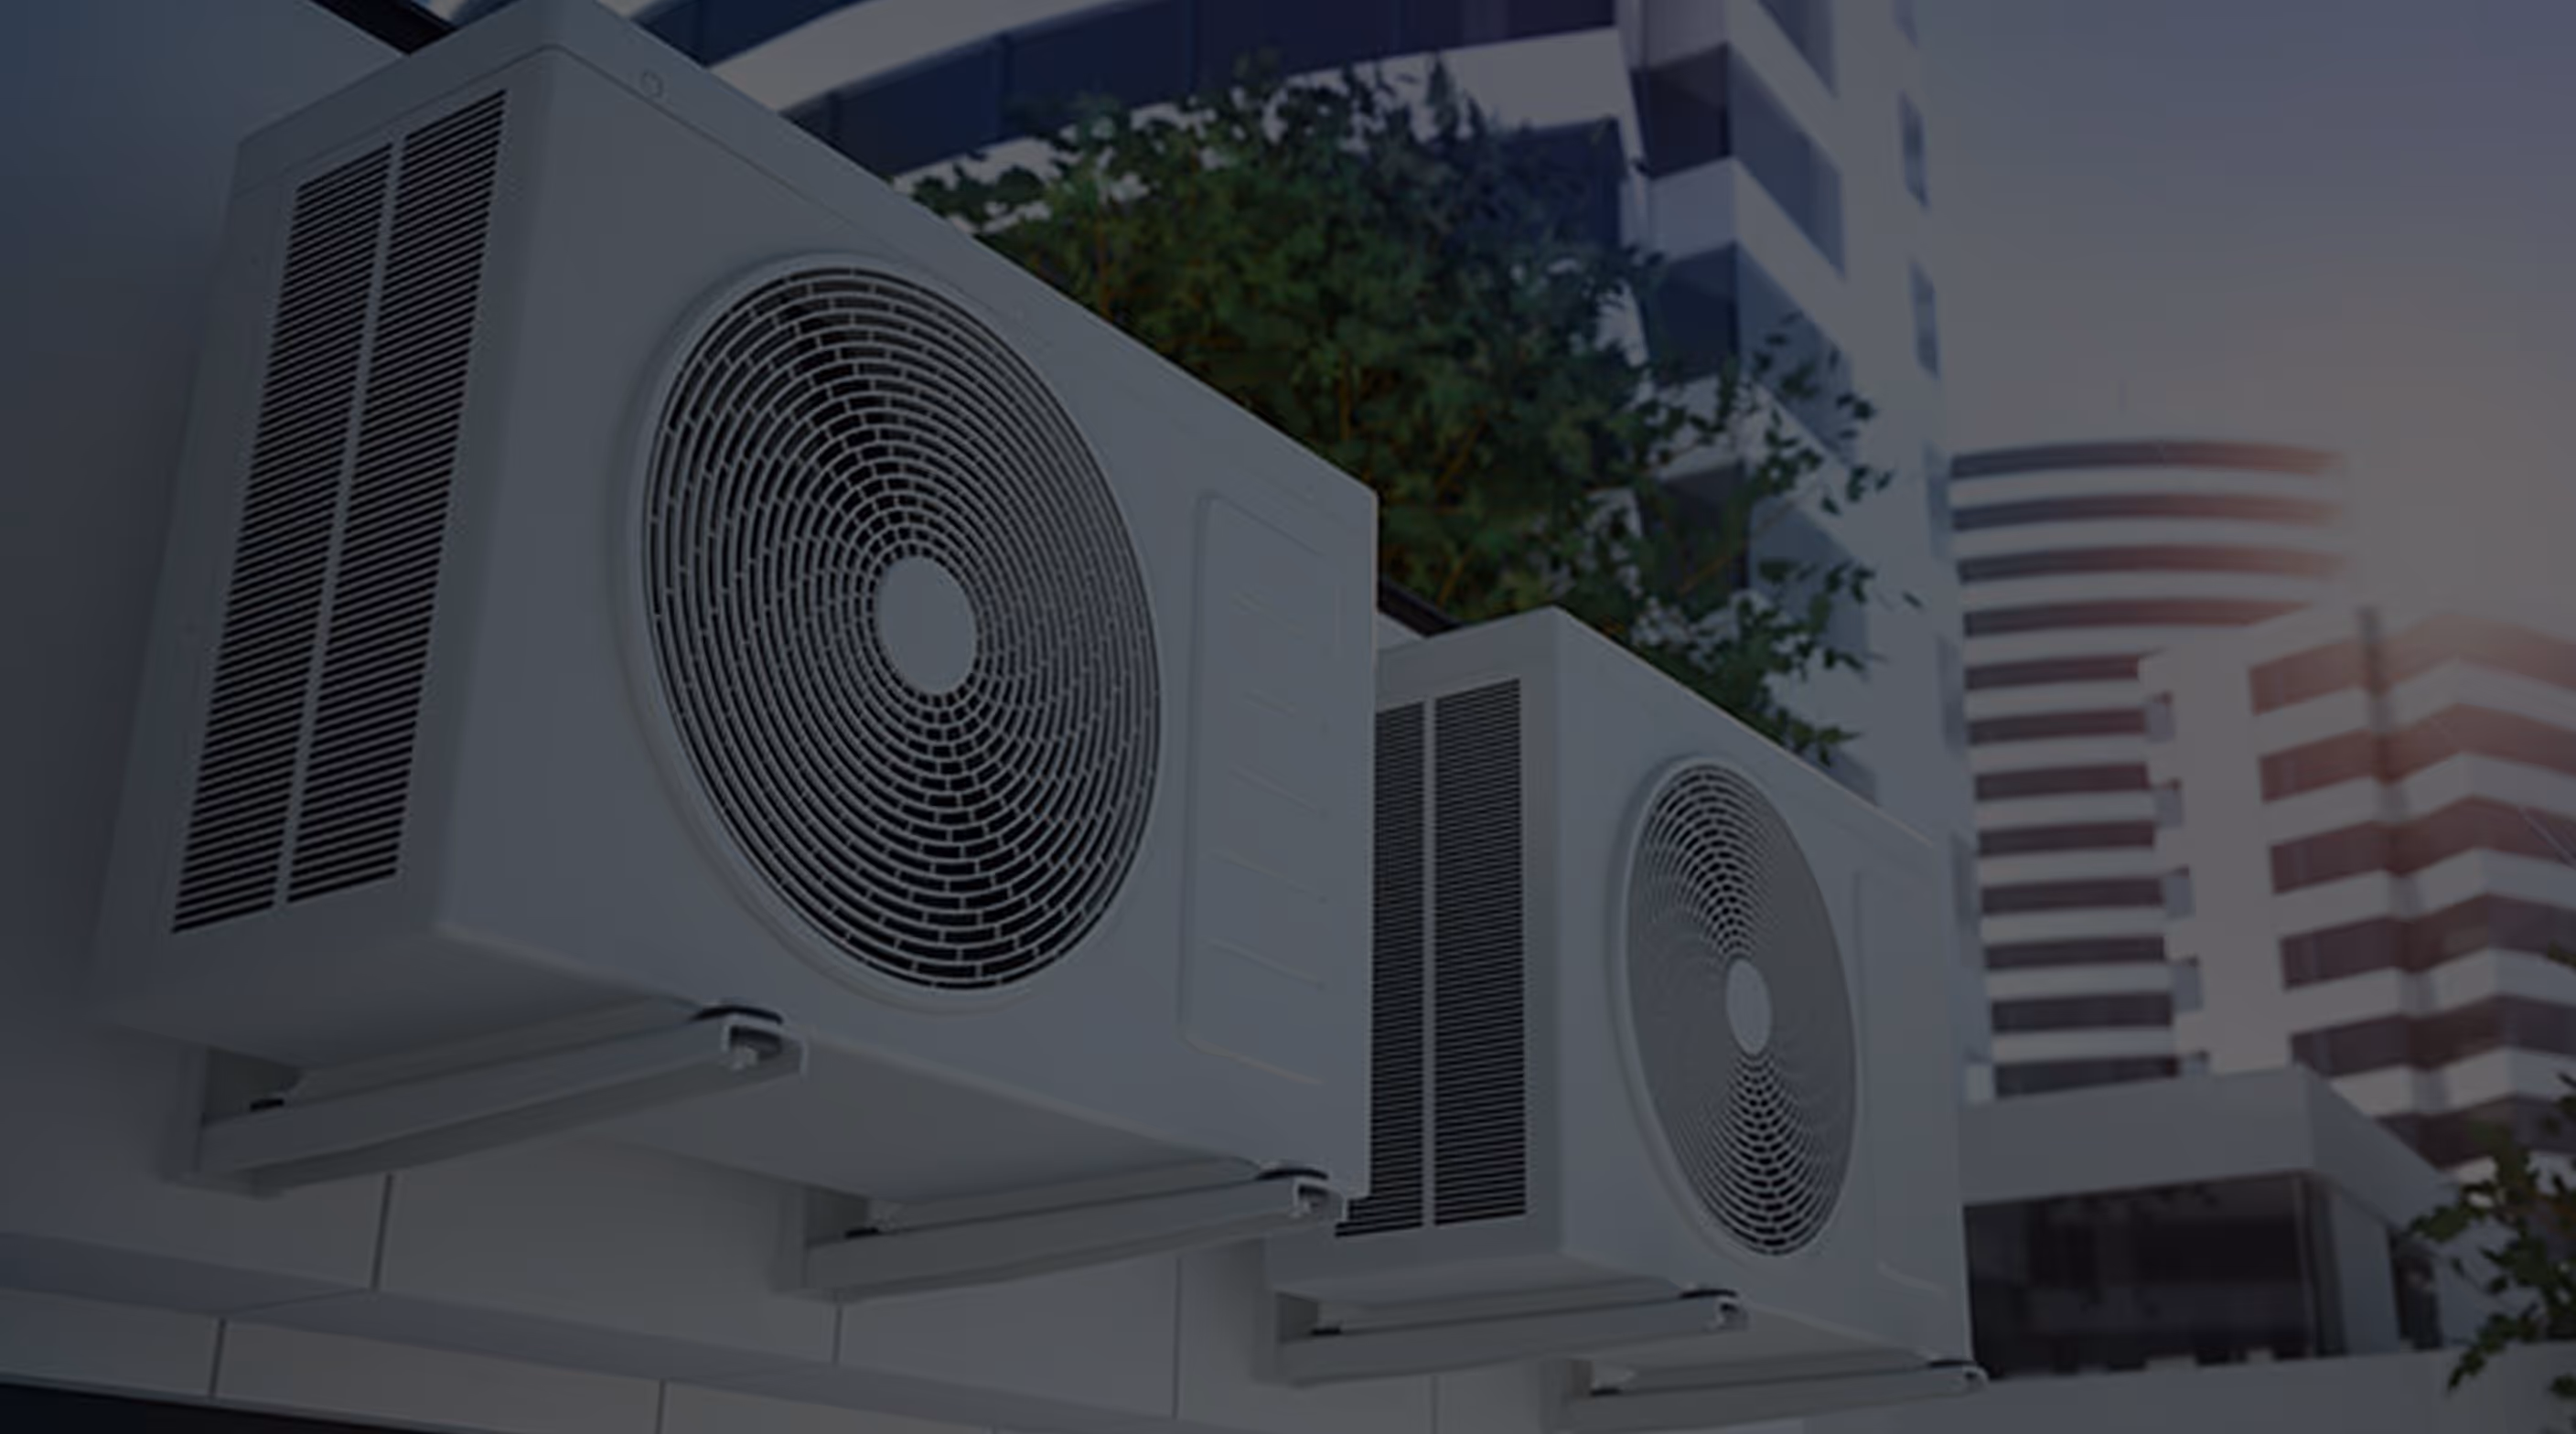
Heat Pump Repair in Union City, CA
Plum HVAC provides expert heat pump repair services in Union City, CA, addressing common failures, diagnostic approaches, and on-site repair steps. We emphasize timely service to reduce energy waste, prevent compressor or refrigerant-system damage, and maintain comfort in Bay Area conditions. We cover typical issues (compressors, refrigerant leaks, electrical faults, thermostats, airflow, corrosion), on-site troubleshooting, repair timelines, parts and warranty considerations, emergency response, and preventive maintenance strategies tailored to our local coastal climate and usage patterns.
.jpeg)
Heat Pump Repair in Union City, CA
Keeping your heat pump running reliably is essential for comfort in Union City, CA, where mild winters and warm, humid summers mean many homes rely on a single system for both heating and cooling. If your system is underperforming, cycling frequently, making unusual noises, or failing to maintain set temperatures, targeted heat pump repair in Union City, CA can restore efficiency and prevent higher costs from complete system failure.
Why timely heat pump repair matters in Union City
Union City’s Bay Area climate puts year-round demand on heat pumps. Salt air from the nearby Bay and seasonal swings in humidity can accelerate coil corrosion, electrical connector deterioration, and refrigerant-line wear. Prompt repairs reduce energy waste, limit indoor comfort disruptions, and avoid damage that leads to costly compressor or refrigerant-system failures.
Common heat pump issues in Union City homes
Most service calls fall into a few predictable categories. Understanding these helps you recognize when to call for a professional diagnosis.
- Compressor problems
- Soft or loud starting, insufficient cooling/heating, or tripped breakers often point to compressor wear or motor failure.
- Refrigerant leaks
- Low refrigerant reduces capacity and can cause icing on the evaporator coil or high head pressures in the outdoor unit.
- Electrical failures
- Faulty contactors, relays, capacitors, breakers, or corroded wiring can prevent the system from starting or cause intermittent operation.
- Thermostat issues
- Incorrect calibrations, wiring faults, or communication errors with smart thermostats lead to poor temperature control or short cycling.
- Airflow and drainage problems
- Clogged filters, blocked return vents, dirty coils, or a restricted condensate drain reduce efficiency and can trigger safety switches.
- Outdoor unit corrosion and debris
- Salt air, dust, and landscaping growth around basements and yards can hinder airflow or cause mechanical wear.
Diagnostic approach: what a professional will do on-site
A systematic diagnostic process identifies the root cause before repairs are started. Typical steps include:
- Visual inspection of indoor and outdoor units for damage, debris, and corrosion.
- Verify system controls and thermostat settings; check wiring connections and safety interlocks.
- Measure electrical parameters: line voltage, amp draw on compressors and fan motors, and capacitor health.
- Check refrigerant pressures and superheat/subcooling values to detect leaks or incorrect charge.
- Inspect evaporator and condenser coils, blower motor, and condensate drainage.
- Use electronic leak detectors or UV dye for suspected refrigerant leaks.
- Run a full-system performance test to confirm the issue and baseline operation before work begins.
This diagnostic ensures repairs are targeted and reduces the likelihood of repeat visits.
Typical on-site troubleshooting and repair steps
Once the issue is identified, technicians follow industry-standard procedures tailored to the problem:
- Electrical repairs: replace failed contactors, relays, capacitors, fuses, or damaged wiring; tighten connections and protect exposed terminals from corrosion.
- Refrigerant work: locate leak source, repair/replace damaged lines or fittings, evacuate and vacuum the system, then recharge to proper manufacturer specifications.
- Compressor service: test start/run components, replace start capacitors or relays if applicable, and if compressor replacement is necessary, recover refrigerant and replace with correct model and oil charge.
- Thermostat fixes: recalibrate, rewire, or replace thermostats; verify compatibility with system controls and smart home integration.
- Airflow and coil service: clean or replace filters, clean coils, clear drains, and adjust blower settings for correct airflow.
- Preventative corrosion measures: apply protective coatings on exposed connections and recommend improved clearance or landscaping adjustments to reduce debris buildup.
Technicians will retest the system after repairs to confirm safe, efficient operation.
Typical repair timelines
Repair timelines vary by complexity and part availability:
- Minor electrical fixes, thermostat replacements, or filter/coil cleanings: often completed within a few hours.
- Refrigerant leak detection and repair with evacuation and recharge: typically a half to full day, depending on access and leak location.
- Compressor replacement or major component swaps: may require a full day on-site; if special-order parts are needed, the timeline can extend to multiple days.
- Systems with significant corrosion or multiple failed components may require phased work to restore operation quickly, followed by more extensive repairs.
Technicians will often provide a clear time estimate after the diagnostic phase.
Parts and warranty handling
Professional repairs use compatible parts sized to the manufacturer’s specifications. Important warranty considerations:
- OEM parts preserve existing equipment warranties; aftermarket parts may affect coverage.
- Document serial numbers, model numbers, and service performed to support warranty claims.
- Labor warranties covering repairs are commonly offered for a defined period; parts may carry separate manufacturer warranties.
- For systems still under manufacturer warranty, repairs may require approved components and authorized service procedures.
Your technician should explain warranty implications before authorizing work.
Emergency response and safety
Heat pump failures can happen at any time. Common emergency response options include:
- Same-day triage for systems that pose safety risks or leave occupants without heating or cooling.
- Temporary measures to restore limited operation while awaiting parts, such as replacing a failed contactor or starting capacitor.
- Safe shut-down procedures when electrical faults or refrigerant leaks present hazards.
In Union City, fast response is especially important during heat waves or colder stretches when system downtime can be uncomfortable or unsafe for vulnerable occupants.
Preventive steps to avoid repeat breakdowns
Regular maintenance extends equipment life and avoids emergency repairs. Recommended practices for Union City homes:
- Schedule professional tune-ups annually, ideally before peak cooling or heating seasons.
- Replace filters every 1 to 3 months and keep return vents clear.
- Keep the outdoor unit free from plants, debris, and yard trimmings; clear at least 2 feet of space around it.
- Watch for signs of corrosion on external electrical connections and have them treated early.
- Monitor system performance: odd noises, longer run times, or uneven temperatures are reasons to request a diagnostic.
- Consider upgrading to a modern thermostat or variable-speed blower controls to improve efficiency and reduce wear.
ConclusionWhen a heat pump struggles, a focused, professional repair restores comfort and energy efficiency while addressing local factors like coastal corrosion and year-round usage common in Union City, CA. Thorough diagnostics, correct parts and procedures, and a sensible maintenance plan reduce downtime and help your system operate reliably through Bay Area weather swings.
hear what our satisfied clients have to say

.svg)
Service areas
.avif)