
Mini Split Installation in Foster City, CA
Mini Split Installation in Foster City, CA provides quiet, energy-efficient, room-by-room comfort tailored to coastal homes. Our service explains system benefits for everything from condos to single-family homes, outlines common unit types, and details the typical installation timeline from assessment to commissioning. We cover sizing, refrigerant handling, permits, and HOA considerations, plus post-install care, warranties, and financing options. With site-specific guidance on weather, salt exposure, and space constraints, we help homeowners plan a smooth, compliant installation and achieve reliable performance.
-min.jpeg)
Mini Split Installation in Foster City, CA
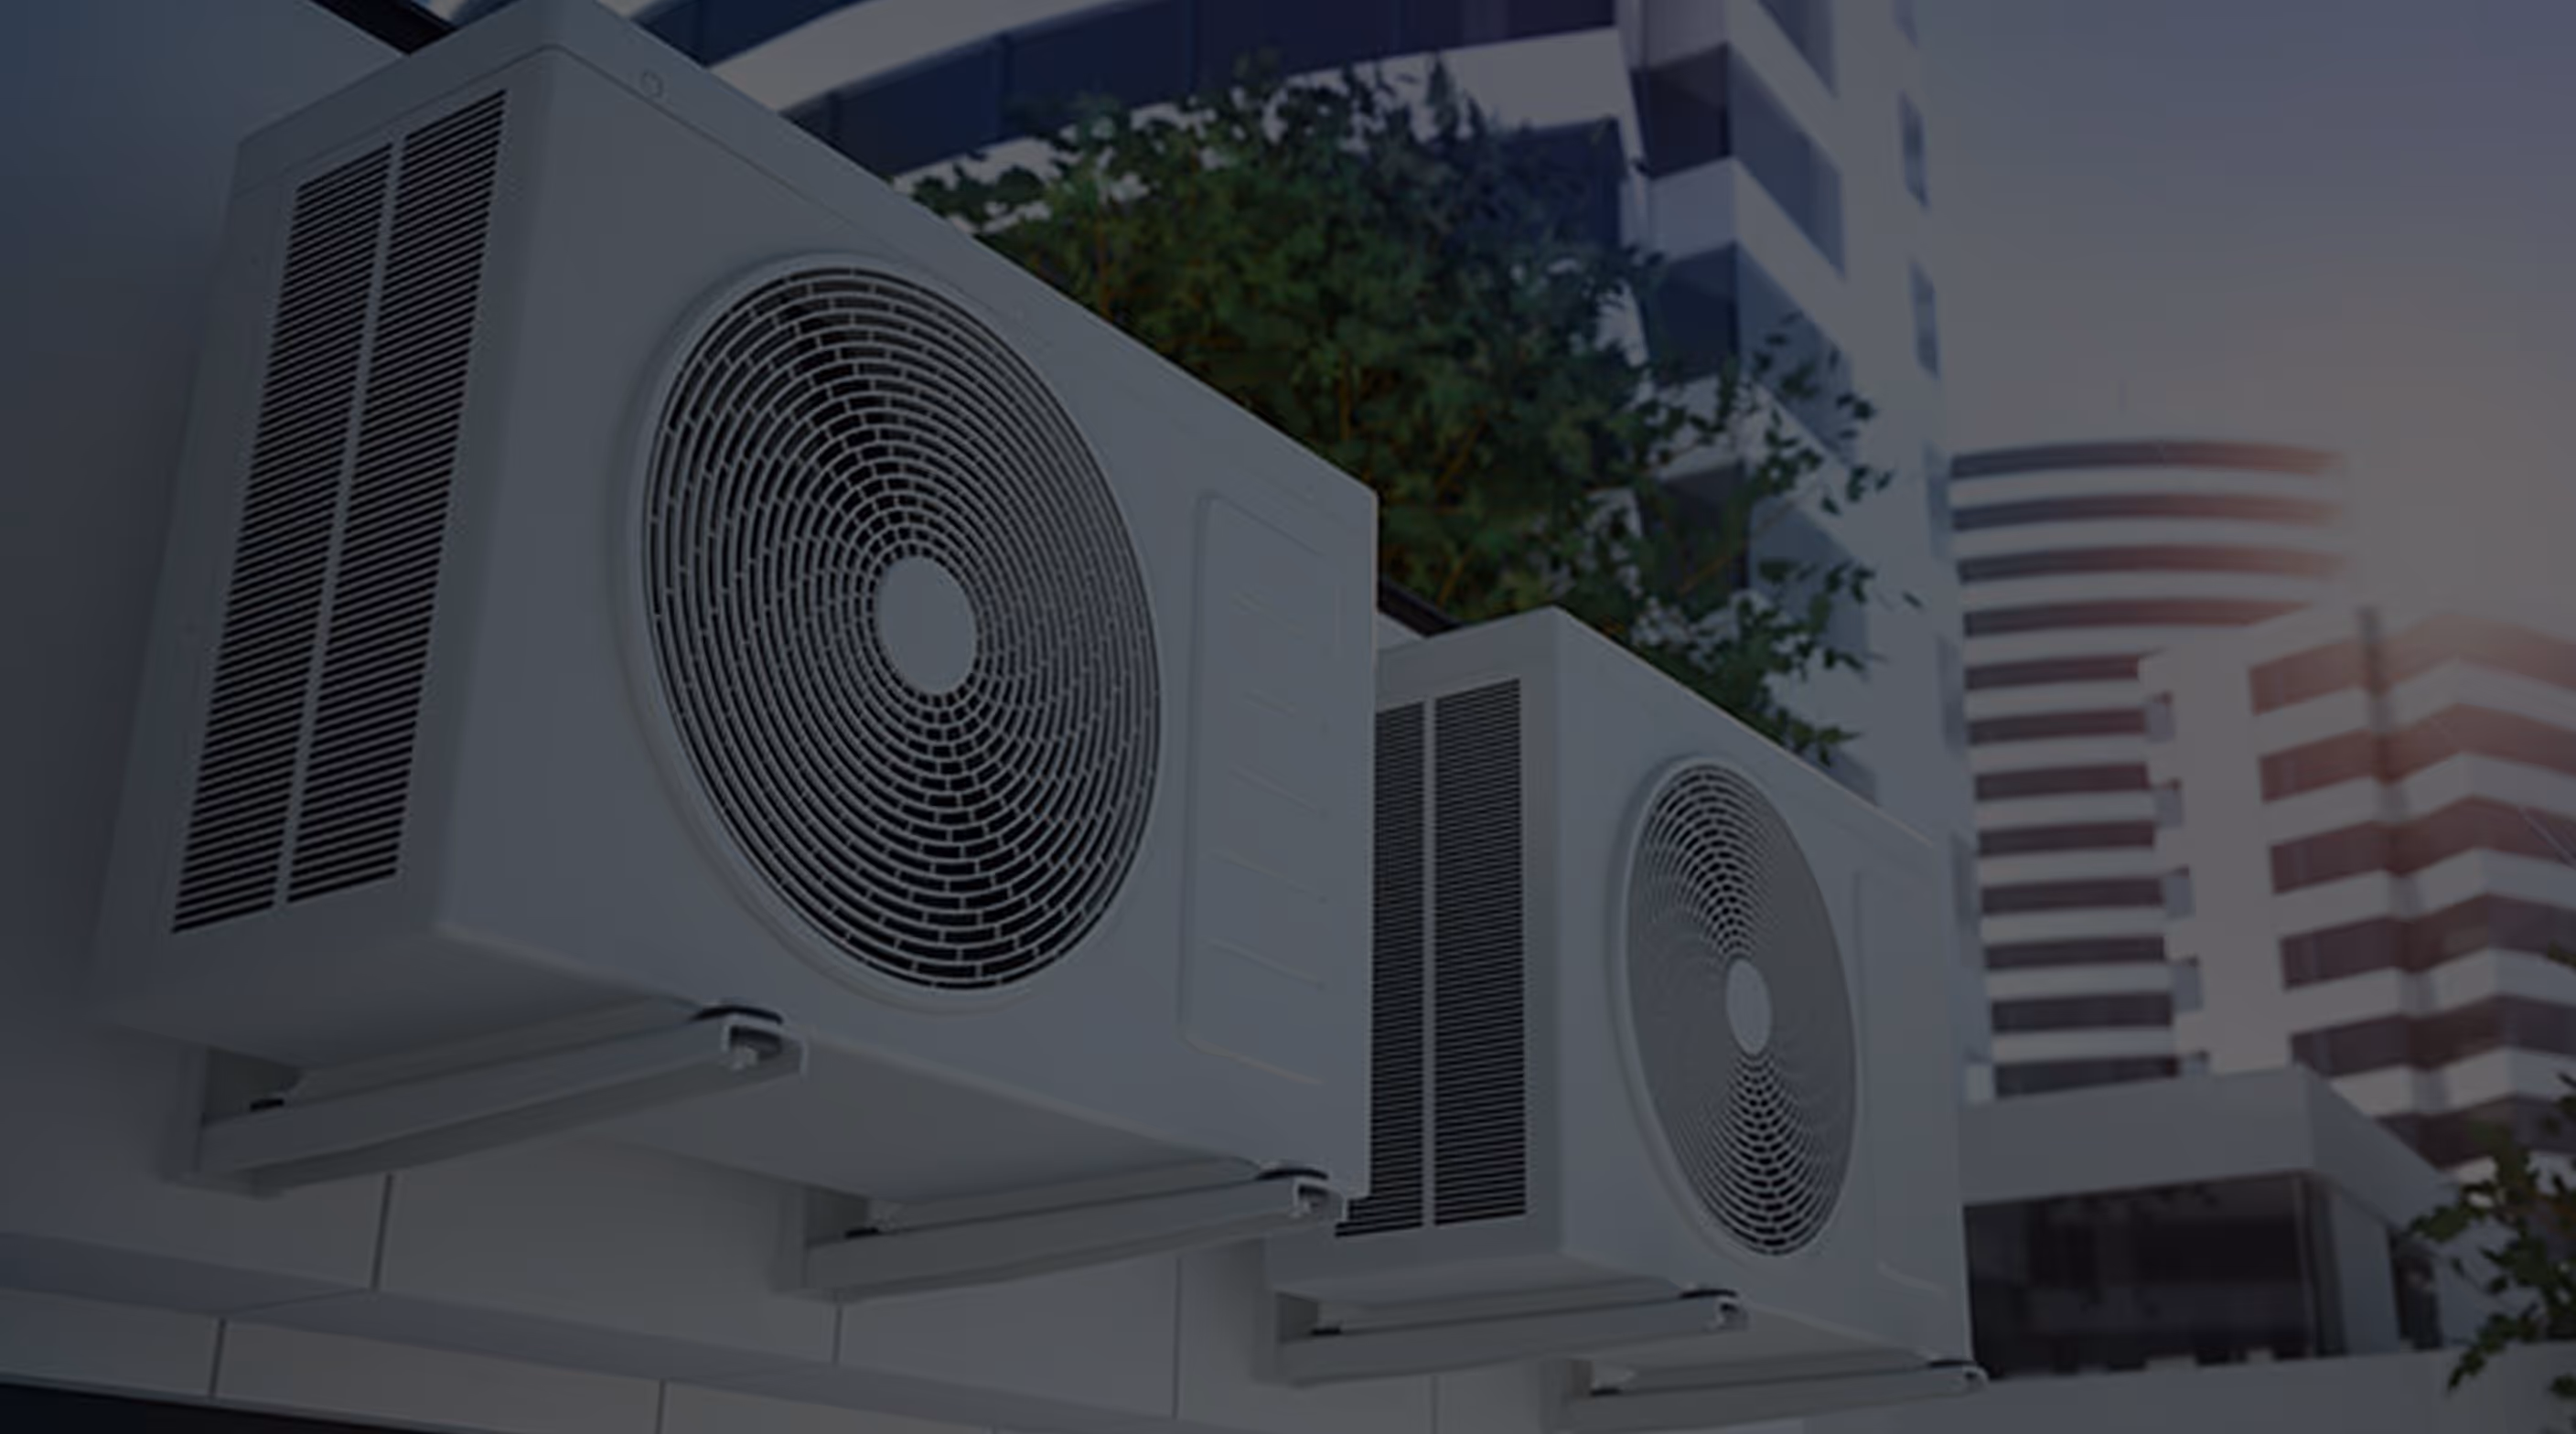
A properly installed mini split delivers quiet, efficient heating and cooling targeted to the rooms you use most. In Foster City, CA, where bay-influenced temperatures, marine humidity, and compact home footprints create unique comfort needs, a professionally executed mini split installation solves common problems like uneven temperatures, inefficient central systems, and high energy bills while minimizing disruption to the home.
Why choose a mini split for Foster City homes
- Zoned comfort for condos, townhomes, and single-family houses with varying sun exposure
- Improved efficiency in mild coastal climates where full-home HVAC often wastes energy
- Compact indoor units that fit limited wall space common in Foster City floor plans
- Reduced ductwork needs — useful in older homes or remodels where installing ducts is impractical
Common mini split types found in Foster City
- Single-zone wall-mounted units for living rooms, bedrooms, or home offices
- Multi-zone systems for simultaneous conditioning of multiple rooms
- Ceiling cassette units for open-plan living where wall space is limited
- Heat pump mini splits that provide both heating and cooling efficiently year round
Typical installation process and timeline
A full mini split installation includes assessment, equipment selection, permits, installation, testing, and follow-up. Typical timeline for a single- or two-zone install is 2 to 4 days from first site visit to commissioning. Larger multi-zone systems or HOA-restricted projects can take longer.
Step-by-step installation timeline
- Initial consultation and site assessment (1 to 2 hours)
- Review your comfort goals, layout, and any HOA or building restrictions
- Perform basic load considerations and inspect potential indoor and outdoor mounting locations
- Note electrical panel capacity, attic access, and aesthetic concerns
- Unit selection and sizing (same day or follow-up)
- Determine single- vs multi-zone configuration based on room use and solar orientation
- Size units using room area, insulation, window exposure, and local climate factors
- Recommend models with appropriate energy ratings and refrigerant types for California regulations
- Permit application and coordination (varies, often 1 to 3 weeks)
- Prepare permit documents for the Foster City or San Mateo County building department
- Provide equipment specifications and electrical plans as required
- Coordinate any HOA approvals if the property is in a planned community
- Site preparation (day 1 of on-site work)
- Protect floors and furnishings
- Mark indoor unit locations and route for line sets and electrical conduit
- Prepare outdoor pad or wall bracket with corrosion-resistant fasteners suitable for bay air
- Indoor and outdoor unit placement (day 1 to 2)
- Mount indoor heads with proper clearance for airflow and access
- Install outdoor unit on a pad or elevated bracket to prevent salt spray and flooding issues
- Route refrigerant lines, condensate drain, and communication wiring through concealed chases where possible
- Refrigerant and electrical work (day 2)
- Connect refrigerant line sets and evacuate the system to remove moisture and non-condensables
- Charge refrigerant per manufacturer specifications
- Install dedicated electrical circuit, disconnect, and tie into the panel meeting local code
- Verify grounding and surge protection where appropriate
- Inspection, testing, and commissioning (day 2 to 3)
- Coordinate final inspection with local building department if required
- Test system for proper pressures, superheat/subcooling, and airflow balance
- Program remote controls and perform performance checks under typical operating conditions
- Post-install documentation and guidance (final day)
- Provide owners manual, maintenance schedule, and warranty registration assistance
- Demonstrate unit controls, app connectivity, and filter access
Key technical considerations explained simply
- Sizing: A unit that is too large will short cycle, reducing comfort and efficiency. A unit too small will run constantly and fail to meet loads. Proper sizing balances capacity with room heat gains and losses.
- Line set length: Longer refrigerant lines reduce performance. Keeping outdoor and indoor units reasonably close avoids performance losses and added installation expense.
- Electrical: Many multi-zone systems require 240 volt service and a dedicated breaker. Single-zone low-capacity units may run on 110/120 volt but still usually need a dedicated circuit.
- Refrigerant handling: Certified technicians evacuate and charge refrigerant to ensure system longevity and compliance with environmental rules.
Permits and inspections in Foster City
Most mini split installations require permits and final inspection from the local building department. Permits ensure electrical and mechanical work meets California building codes and energy efficiency standards. If your property is governed by an HOA or is a condominium, plan for additional approvals for outdoor unit placement and visible hardware.
Financing and rebate guidance
High-efficiency mini splits are often eligible for energy incentives. Homeowners in Foster City should explore:
- State and federal incentives for electric heat pump systems
- Local utility rebates through Bay Area providers
- Manufacturer rebates and financing options that may be offered for qualified installations
Documentation such as equipment model numbers, efficiency ratings, and final inspection receipts are typically required to claim rebates. Consider discussing timing of purchases and installations around rebate program windows.
Post-install testing, commissioning, and care instructions
Post-install checks protect system performance and warranties. Typical commissioning activities:
- Verify correct refrigerant charge and system pressures
- Confirm airflow and room temperature response
- Test remote controls, timed schedules, and app connectivity
Care instructions for lasting performance
- Clean or replace filters every 1 to 3 months depending on use
- Keep outdoor unit free of debris, at least 12 to 24 inches of clearance for airflow
- Schedule annual maintenance including coil cleaning, drain line clearing, and electrical inspection
- Watch for salt corrosion in coastal air and choose corrosion-resistant mounting hardware and protective coatings if needed
- Register warranties and retain installation documentation for future service or rebates
Benefits specific to Foster City residents
- Improved comfort during bay fog mornings and warm, sunny afternoons by zoning living spaces
- Energy savings compared to running oversized central systems in mild climates
- Minimal interior disruption ideal for smaller homes and multiunit buildings
- Solutions that respect HOA aesthetics while delivering modern efficiency
A well executed mini split installation in Foster City balances technical precision with local realities like marine air, HOA rules, and compact home layouts. Proper assessment, permit coordination, and careful commissioning ensure the system performs reliably and efficiently for years.
hear what our satisfied clients have to say

.svg)
Service areas
.avif)